5 easy hairstyles for NYE
- Rhiannon Dimaria

- Dec 27, 2020
- 4 min read
Revlon Professional Ambassador Rhiannon Dimara shares 5 simple hair styles for New Years Eve.
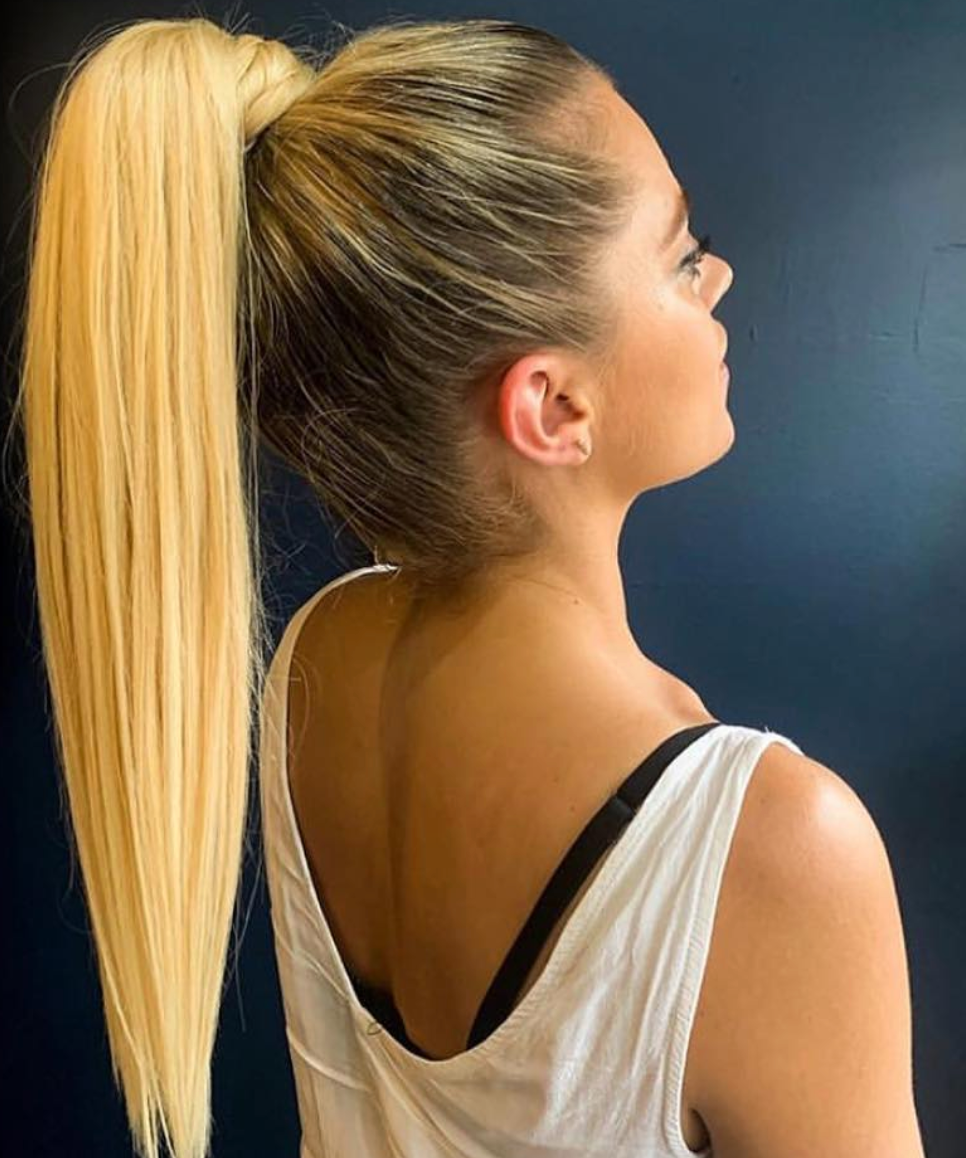
The Snatched Pony

Step 1- Start with dry hair, prep the hair with flat irons, use Style Masters LISSAVER liberally to get your hair nice and straight.
Step 2- To get the pony nice and slick, mist Style Masters MEMORY SPRAY into the roots. Blow dry gently with low heat in the direction that the pony will sit with a flat bristle brush. This will make it easier to put in your pony with no lumps or bumps!
Step 3- Divide hair into 2 sections from ear to ear. Clip the top section out of the way.
Step 4- Starting with your bottom section, brush up, then refine with a comb before securing with a band at the height you want the pony to sit.
Once secured, incorporate the top section of the hair, first brushing into your first section before securing with another band -
PRO TIP: For extra control and tightness you can sandwich a band between two bobby pins and pin one into the base of your first section, wrap the band around until there’s almost no stretch left and place the other bobby pin into the base of the pony.
Step 5- Spray a Style Masters MODULAR Medium Hold Hairspray into an unused toothbrush, use this to gently brush in all of the hairline to neaten the edges of your hair for a super clean look. You could vary this look by placing your hair in a centre part and securing the pony low, even adding some glitter through the hairline/ parting for that extra sparkle!
The Textured Pony
For another variation, this double section trick also applies to a textured pony. It helps to create the illusion of an extra voluminous ponytail!

Step 1- Start with dry hair, prep the hair by waving with a tong or flat iron and add Style Masters MEMORY SPRAY to amp up the volume.
Step 2- Divide hair into 2 sections from ear to ear. Clip the top section out of the way and secure the bottom half into a ponytail at the height you want it to sit.
Step 3- Gently tease the base of your first pony to create slight volume at the top.
Step 4- Moving onto the top section gently tease the crown area before securing underneath your teasing, closer to the root area.
Step 5- Now tie both sections together, this will ensure your volume stays all night.
Step 6- Pull a small piece of hair from underneath the finished pony and wrap around the band where you have secured it to camouflage the bands. This will finish and refine the look!
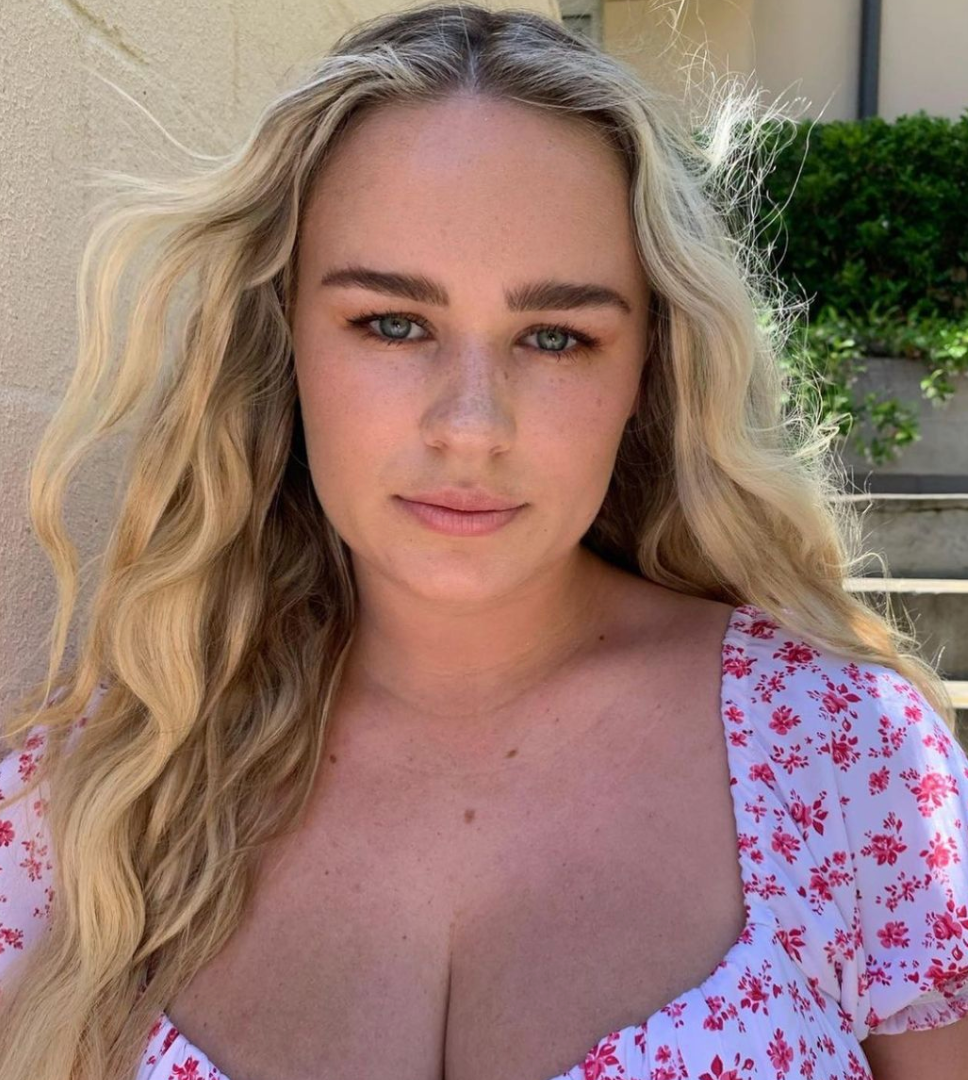
Mermaid Hair

Step 1- Start with clean, dry hair.
Step 2- Apply STYLE MASTERS Glory Waves liberally and blast in with a dryer or let air dry in.
Step 3- For longer hair- part your hair in two, keeping your preferred parting at the front and taking the rest down the middle to the back of the neck. For shorter lengths, part your hair in four sections two at the back and two at the front to ensure you have enough movement.
Step 4- Plait your sections ensuring they are symmetrical in where they begin on each side of the head.
Step 5- Clamp down gently on each plait with a straightening iron, letting them cool before taking them out and unveiling your mermaid locks.
Step 6- For a heat free styling option spritz hair again with Style Masters GLORY SPRAY post-plaiting, pushing the product into the plaits with your fingers. let air dry and keep in for as long as possible before taking them out. This will ensure longevity in your style.
Put a pin in it

A really simple way to add some glam and create multiple different looks are a few well placed pins or accessories!
Step 1 - Prep and Style your hair as desired (straight, wavy, curled or natural this works with everything!)
Step 2 - For a sweeping side part, section your hair at the arch of your eyebrow, sweep one side back and just behind the ear. Add texture or volumizing spray to the remaining side for added volume - I love reset as it adds volume and also wicks away oil to keep your hair fresher for longer!
Step 3 - For a centre part, section out the front 3cm of your hairline. Start on one side, keeping this super smooth and flat whilst gently sweeping back behind your ear and pin! Repeat on the other side. You can also secure this with a band at the back of your neck and lay your hair over the top if pins aren’t your thing. Add a headband for extra glam!
Add a braid!

Braids are an excellent way to spice up a hairstyle! You can braid your fringe and pin, braid the sides and pin back for a half up half down vibe, or even do one plait just on top of the ear and take it to the other side of your head for a textured headband look.
**Check out the products mentioned here


Comments